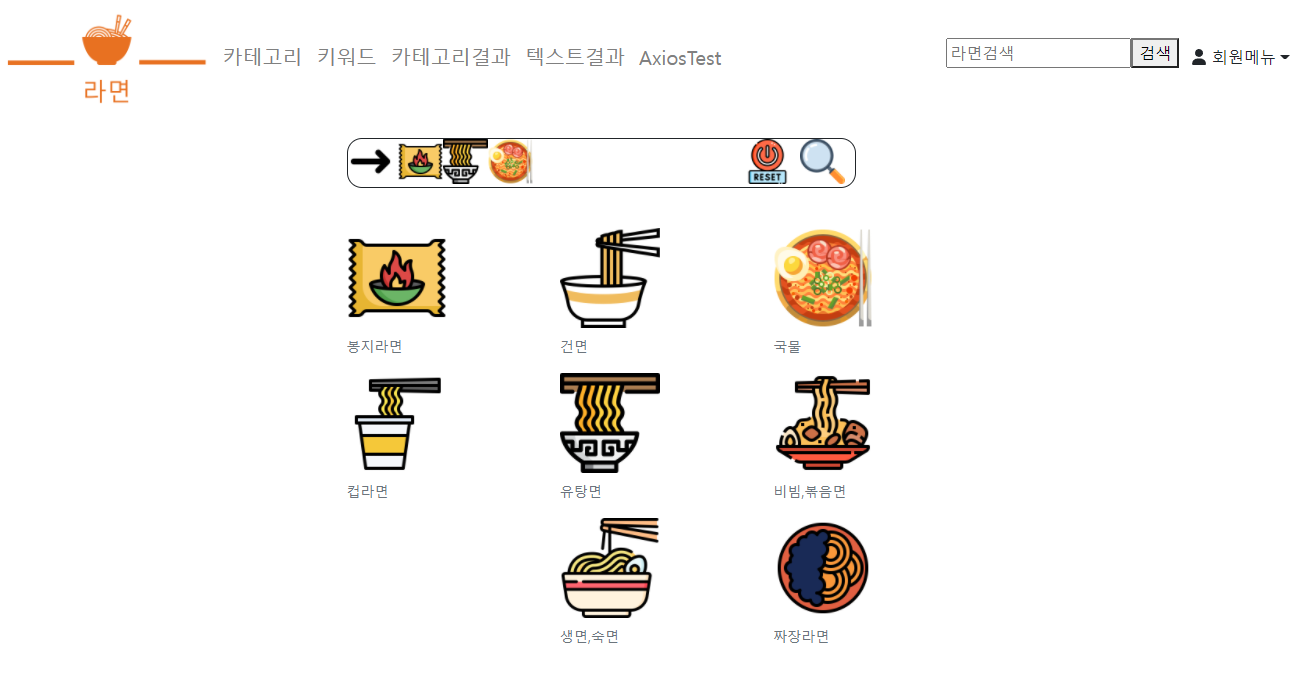
위와같은 검색창을 만들었는데
query: {
              "ramenType":ramenresult[0],
              "noodleType":ramenresult[1],
              "ramenStyle":ramenresult[2]
             },
위와같은 타입으로 쿼리를 다음페이지로 전송하려고한다.
그래야 다음 페이지에서 받은 내용(쿼리)을 기반으로 백엔드 서버에 요청해 부합하는 리스트를
쭉 보여줄 수 있기 때문이다.
여튼 다른페이지에 주소로 '쿼리'를 보내는방법 (Next.js에서!)
- useRouter()를 사용한다.
import { useRouter } from 'next/router'

export default function ReadMore({ post }) {
  const router = useRouter()

  return (
    <button
      type="button"
      onClick={() => {
        router.push({
          pathname: '/post/[pid]',
          query: { pid: post.id },
        })
      }}
    >
      Click here to read more
    </button>
  )
}
Nextjs.org에 있는 예제 사용법이다.
나같은 경우는 응용해서 상단에 useRouter를 선언해준다음
box.js

.........

export default function Layout(){
let [ramen1,setRamen1] = useState(0)
let [ramen2,setRamen2] = useState(0)
let [ramen3,setRamen3] = useState(0)
let [ramenresult,setRamenresult] = useState([0,0,0])

const router = useRouter()
  return <>

  .......

  <div className="icon" onClick={()=>{
          // alert(ramenresult)
          router.push(
            {
            pathname: '/SearchResult',
            query: {
              "ramenType":ramenresult[0],
              "noodleType":ramenresult[1],
              "ramenStyle":ramenresult[2]
             },
          },
          `/SearchResult`
          )
          // masking해서 넘어가는 쿼리 숨기기
        }}><img src="search.png" width={45}></img></div>

        .......
이와같이 사용해 주었다.
그저 pathname에 전송하고싶은 page를 적고, query에는 object형태로 값을 넣어주었다.
그리고 밑에 한번더 같은 pathname을 적어준것은 마스킹이라고해서 넘어갈때 주소에 나오는 쿼리값을
숨겨준다.

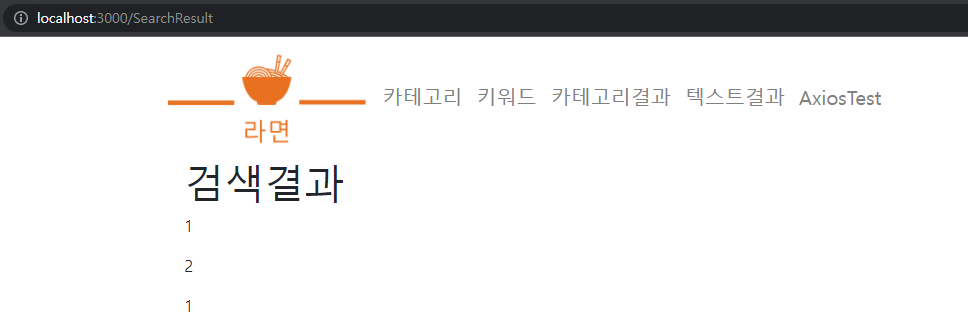
검색 버튼을 눌러주면 이와같이잘 전송되는걸 볼 수 있다.

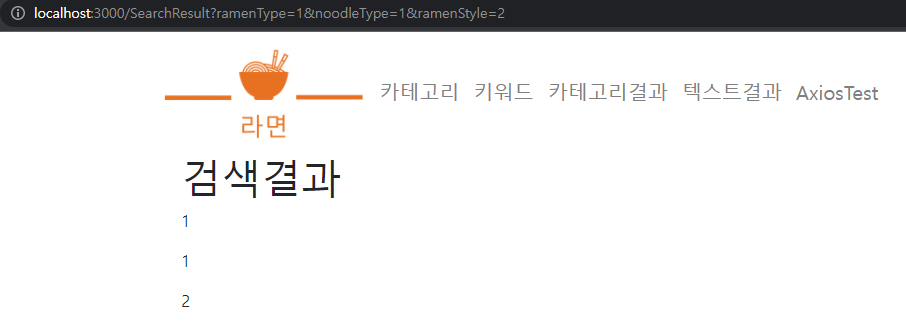
그리고 마스킹을 안해주면 이와같이 주소에 쿼리값이 나오는걸 볼 수 있다.
그리고 받는페이지에서 쿼리값을 받는 방법이 중요하다.
SearchResult.tsx

import { useRouter } from "next/router";

.........

const Search: NextPage = () => {
  let name= ['진라면 매운맛','잔라면 순한맛','짜파게티']
  let image = ['j.jpg','j2.jpg','jja.jpg']
  const {query} = useRouter()


  return <>
  <Row>
    <Col xs={2} md={2}></Col>
    <Col xs={8} md={8}>
    <h1>검색결과</h1>
    <p>{query.ramenType}</p>
      <p>{query.noodleType}</p>
      <p>{query.ramenStyle}</p>

      .........
이와같이 사용해준다 상단에 마찬가지로 useRouter를 import해오고
query라는 오브젝트에 userouter()를 사용해준다.
그리고 넘어온 query에 있는 키값들을 이용해 value를 출력해주는 형태로 사용해주면 된다.
-참고한 링크
https://nextjs.org/docs/api-reference/next/router
next/router | Next.js
Learn more about the API of the Next.js Router, and access the router instance in your page with the useRouter hook.
nextjs.org
https://reactgo.com/next-get-query-params/
How to get the query params from a URL in Next.js
In this tutorial, we are going to learn about how to get the query params from a current URL in next.js. Query Params Query params are…
reactgo.com
-볼만한링크
https://kimmanbo.tistory.com/18
[NestJS] Controller로 Request를 받아보자!
개요 HTTP를 통해 Controller에 전달되는 요청은 종류가 다양하다. HTTP 메서드도 여러가지 있지만, 데이터 전달 방식도 여러가지다. - Route Parameter 방식: localhost:3000/users/1 - Query 방식: localhost:30..
kimmanbo.tistory.com
'Next.js' 카테고리의 다른 글
| css속성 변수로 주기 feat 템플릿 리터럴 (0) | 2022.04.02 |
|---|---|
| axios 요청값 배열 저장(json), 리스트 전체출력(jsx,map반복문) (0) | 2022.03.25 |
| Next.js(React)에서 한줄, 속성에 직접 style주는법 (0) | 2022.03.22 |
| Next.js 에서 컴포넌트 함수로 만들어 쓰기(한페이지 에서) (0) | 2022.03.22 |
| React Bootstrap in Next.js - Navbar 링크, 정렬,클래스명 (0) | 2022.03.18 |

